How to Pack for a Backpacking Trip - A Packing List & Expert Advice
Packing smart for a backpacking trip can mean the difference between a trip that’s enjoyable and one that leaves you anxious and exhausted at best, or in a dangerous situation at worst.
With the right gear, careful planning, and mindful packing, you’ll be ready for a successful backpacking trip. Whether you're a beginner or an experienced hiker, this guide covers the essential items you’ll need for backpacking, with tips for adjusting your packing list based on the climate, terrain, and duration of your trip.
Backpacking Packing Essentials for a 2-Night Trip (Full list at end of article):
- Backpack (30-50L)
- Sleeping gear: Tent or hammock, sleeping bag, sleeping pad, camping pillow (optional)
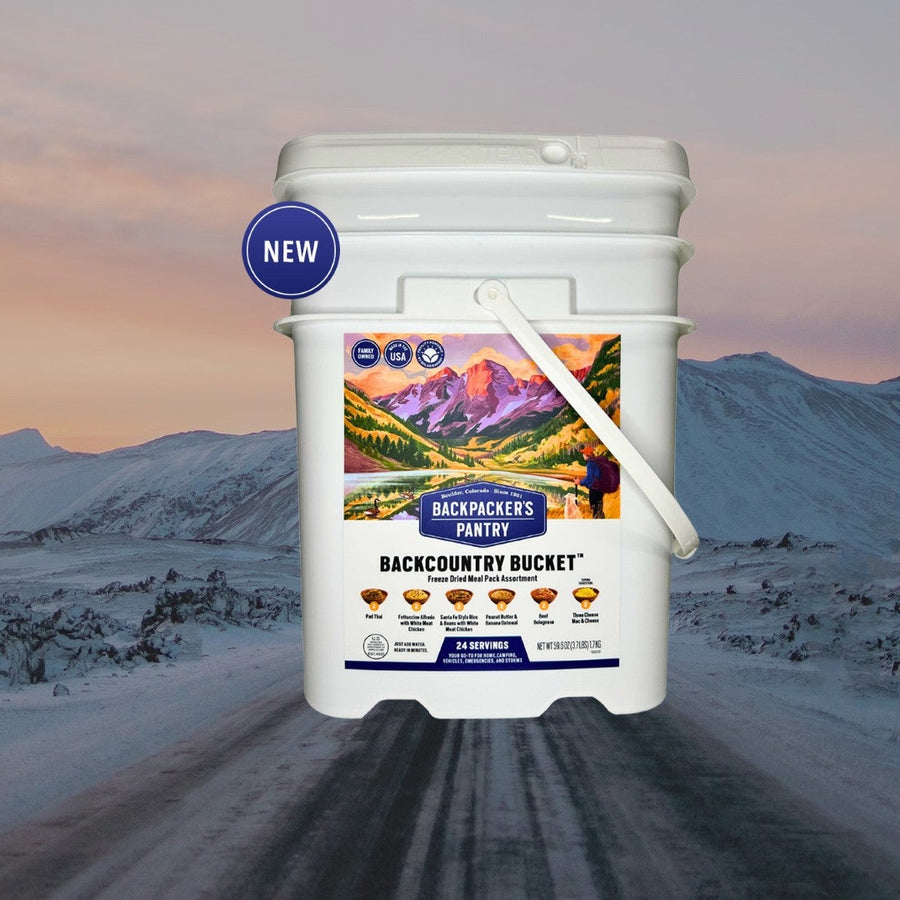
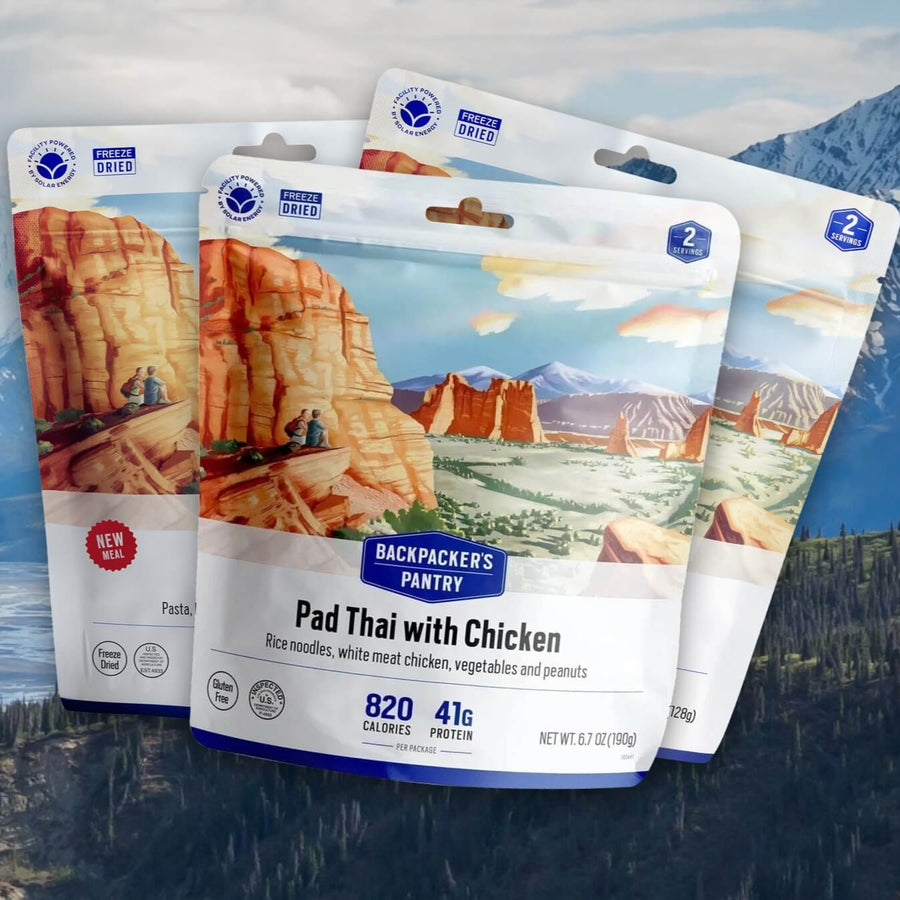
- Food and cooking supplies: Backpacking stove, pot, spork, Backpacker’s Pantry meals, snacks
- Water filtration: Water filter or purification system, 2-3L per person of water storage
- Navigation and safety gear: Map, compass, GPS device, first aid kit, whistle
- Clothing: Base layers, mid layers, outer layer, extra socks, hiking footwear, camp shoes
- Toiletries: Toothbrush/toothpaste, hand sanitizer, trowel or Wag Bags, biodegradable toilet paper, any personal medication
- Animal safety: Bear spray and bear canister, Ursack, or bear hang materials
Backpack Essentials Explained
Backpack
Your backpack is one of the most critical items you'll take on your trip, so choosing the right size, fit, and features are key.
Internal vs. External Frame: Internal frames are the most common today, offering a sleek profile and better weight distribution, while external frames may provide more ventilation and are great for bulky loads. You may see some vintage photos of backpackers with external frames and retro ‘fits, but for most backpackers nowadays, an internal frame pack is the best option.
Capacity: The general rule for backpacking is your pack should not exceed 20 percent of your body weight. This weight restriction will influence what size pack to buy. Generally, a 30-50L pack is ideal for a 2-night trip, while longer trips may require 50-70L. Ensure there’s enough room for food, water, and gear without having to strap items to the outside of your pack.
Fit: When fitting a backpack, you want to make sure you can adjust the torso length of the pack for a proper fit, as well as ensuring the bulk of the weight is distributed on your hips, not your shoulders. Here is a comprehensive guide to fitting a backpack from REI.
Features: Do you prefer a roll-top backpack? Is a built-in rain cover important to you? Do you prefer to hike with a hydration reservoir or water bottles? With so many backpacks on the market, you can shop around for the perfect features for you.
Shelter and Sleeping Gear

Choosing lightweight, durable, and weather-appropriate gear is key for safety and morale, even if you are just heading out for a weekend.
When choosing a tent for backpacking, consider the season rating, capacity, and weight. A 3-season tent is typically lighter and more breathable and is designed for spring, summer, and fall use. It’s built to withstand moderate rain and wind, but not heavy snow. For winter treks, however, opt for a 4-season tent; it has sturdier poles and fabric to resist harsh conditions, but this durability adds weight and bulk. If you do not plan to backpack in the winter or during harsh weather, we suggest a 3-season tent will be lighter, often cheaper, and get the job done well.
If you’re looking to just own one tent, a 2-person tent is a versatile choice, offering enough space for you and your gear (or a companion) without excessive weight. It is not going to weigh you down to carry it alone, and it will feel refreshing to divy up the tent with a backpacking partner. It’s important to note that the number of people a tent claims to sleep is not a suggestion… It is a very tight fit. Unless you are backpacking with kids, don’t expect to fit three adults in a 2-person tent.
Also, think about setup style. Freestanding tents are easy to pitch and move around before staking, which can be helpful on rocky or uneven ground. They also hold their shape very well.
Semi-freestanding tents are less common, and often require stakes for structure. They can still offer the roominess of freestanding tents while cutting some of the weight.
If you’re aiming to minimize weight, consider alternatives like tarps, single-wall tents, and non-freestanding shelters. While lightweight single-wall tents are quick and easy to set up, they are very small. Tarps and non-freestanding shelters are ultralight but provide less protection and do not always come with a floor, so they’re best for fair-weather trips.
Your choice depends on the conditions you’ll encounter and your comfort preferences. For most, a 2-3 pound, free-standing 3-season tent is the perfect balance of comfort, weight, and flexibility.
Finding Your Perfect Sleeping Gear
When choosing a sleeping bag, research temperature ratings and choose one that hovers around the lower end of your trips. A down sleeping bag is a more expensive option, with a fantastic warmth-to-weight ratio, durability, and packability. Synthetic, although bulkier and less efficient in terms of warmth, is extremely water-resistant. If you plan on backpacking in warm temperatures, you may opt for an ultra-lightweight camping quilt.
For your sleeping pad, you have two main priorities: insulation and comfort. While inflatable sleeping pads have historically been a bulkier option, recent ultra-lightweight inflatable sleeping pads are close to the weight of their foam counterparts (and more comfortable and further off the cold ground). That said, an inflatable pad always runs the risk of needing repairs, and a foam pad that straps to the bottom of your pack is both reliable and significantly cheaper.
Some call it a luxury, but it’s an incredibly light one. For us, a camping pillow is a huge comfort and morale boost that weighs only a few ounces. An inflatable pillow can be seriously worth the cost over dirty clothes in a stuff sack. Read our article on getting a better night‘s sleep while backpacking to learn more.
Packing Food and Cooking Supplies for Backpacking

When planning your backpacking meals, consider high-energy food and what cookware is necessary. If you’re looking to keep things light and simple, freeze-dried Backpacker’s Pantry meals and instant oatmeal will be your go-to. These foods only require a small water pot, bowl, and spork. However, if you want a more complex meal, such as fresh vegetables at dinner, look into a lightweight cutting board and knife, as well as a separate pot or pan from where you boil water. While you could bring small cookware from home, you may consider investing in backpacking-specific gear that is lightweight and packable.
Some other snacks you may want to include are protein bars, freeze-dried fruits and vegetables, or chocolate bars for morale at the end of a long day. PB&J wraps are always a hit for lunch on the trail. It is always difficult finding the balance between weight and comfort, but it never hurts to bring an extra day’s worth of food in case of an injury or other delays.
A lightweight stove is an essential tool for a backpacking trip for both cooking and boiling clean drinking water. We recommend investing in (and testing before every trip) a canister stove or a white gas stove with a refillable fuel bottle. Many stoves come with a compatible lightweight pot.
Backpacking Trip Water Planning
The most important part of your food prep is water, and how you approach planning/packing water seriously depends on where and when you plan to backpack.
If you are backpacking somewhere with lakes and streams near or along the trail, you can opt for a water filter, purification drops, or both. Some people prefer to cut the extra weight of a filter, but we believe this method allows you to collect more water at once.
Even if you know you have reliable water sources, plan each day on the trail around where you can stop for water and how much you need to carry with you; you should intend to carry 2-3 liters of water with you if you have clean water sources relatively close along your journey. For example, if you are backpacking in the Rockies in early summer, every lake and stream you see on your map will have ample water for you to fill up, and you will not need to fill your dromedary at every stop. You could hike that same trail in October, however, and fill your bottles and dromedaries at every opportunity in case a creek or small lake has dried up.
If you intend to backpack in the desert, water needs to be top-of-mind during the planning stages. If you are picking a trail with intermittent water sources, you need to bring enough water to last you and your group until that spot (after you confirm those sources do, in fact, have water that time of year). If the trail has no water at all, you need at least two waters a day and be very wary of using water for cleaning if it is not necessary.
In short, there is no cut-and-dry formula to planning water when backpacking, but dehydration is one of the most severe issues one can run into in the backcountry. Regardless of how much drinking water you determine you need to carry with you per day, always round up to account for wound cleaning if you are in a first-aid emergency, as well.
Navigation and Safety Gear

Staying on course is paramount in the backcountry. This means always carrying a physical map and compass, even if you’re using a GPS watch or an app like AllTrails. If your device were to die or break, you need to be fully equipped to stay on route (or get back on it). In the case of getting lost or in serious trouble on the trail, we recommend always carrying a satellite device (like the Garmin inReach) or a personal locator beacon to call for help or be found by search and rescue.
Your first aid kit should include band-aids, antiseptic towelettes, over-the-counter and personal medications, and blister care (at minimum). The kit should travel with the person who has the highest level of medical training on your trip and be easily accessible in their pack. You may decide to pack tape or wraps for sprains, as well as burn care or a SAM splint.
On top of a first aid kit, you should have a multi-tool with a knife, screwdriver, and scissors easily accessible for small issues on the trail or in camp. Be sure to include emergency gear like a fire starter and emergency blanket in your first aid kit in the case of larger emergencies. Additionally, each person in your group should attach a whistle to their pack. Best practice is to stay together as a group or buddy-up when walking away from camp, but in the chance that someone gets separated and needs to be located, a whistle is the easiest way to find a lost group member or let them know where the group is. It’s also a loud way to notify search and rescue of your location or scare away an unwanted critter. And, if applicable, every person in your group should have a can of bear spray (and know how to use it) easily accessible on their backpack if traveling through bear country.
Hygiene and Personal Care Items
While maintaining hygiene on the trail is important for your comfort and health, it’s also important to take a critical look at what toiletries are essential for backpacking, and what should stay home. You should start with the basics: a small toothbrush, toothpaste, biodegradable soap, and your personal medication.
When it comes to using the bathroom on your trip, research whether you’ll need to bring a trowel to dig a cat hole and biodegradable toilet paper or something like a Wag Bag to pack out your waste. If you anticipate needing menstrual products, bring what is hygienic and comfortable, and be prepared to pack everything out.
What should you be leaving at home? Well, everything else with a scent, if you can. If you’re a first-timer, leaving deodorant may feel uncomfortable, but you’ll find that the lighter your backpack, the easier the hike, and that no one cares once you’re out there.
Packing Backpacking Clothing & Layers
Layering is key to staying comfortable in fluctuating conditions, and with limited space in your pack over multiple days, it’s important to be intentional about what clothing you bring. And, like the rest of the gear on this list, is heavily dependent on when and where you’re backpacking.
While a summer backpacking trip in the desert and a late-season trip in the mountains will very greatly, always take the approach of packing a good layering system. This allows for versatility, so you can add or remove layers as temperatures fluctuate or conditions change.
Hiking clothes
Your hiking clothes should be comfortable items you have hiked in before. Even in hot temperatures, we suggest pants for coverage and to minimize chafing. If you are in warm temperatures, resist the urge to wear a thin tank top or remove your shirt all together to prevent shoulder chafing. A synthetic sunshirt or merino top will do the job. Depending on the sun intensity, temperatures, or bugginess of your hike, consider what layers you want easily accessible while backpacking for a quick change on trail.
Baselayers
If you are camping in warm climate mid-summer, you can call your baselayers “camp clothes,” and if you are backpacking in shoulder season or in high altitude where nights get cold, these are the layers closest to your skin. Start with moisture-wicking fabrics, such as merino wool or synthetic materials, for both tops and bottoms. These materials pull moisture away from your skin, keeping you dry and warm. Avoid cotton, which traps moisture and dries slowly, increasing the risk of hypothermia.
Mid-layers
Regardless of when or where you’re camping, a fleece layer or down jacket are really nice to sleep in or hang out at camp in. If it’s cold during the day, these layers might come out while you’re hiking. For mid-layer insulation, a fleece top is a solid choice, adding warmth without bulk. If conditions are particularly cold, consider adding fleece pants as well. In addition to your fleece, if conditions require a lightweight down or synthetic insulated jacket is ideal for extra warmth and easy compression in your pack.
Outer layers
Regardless of whether you are in the desert or the tundra, a waterproof shell is critical to your packing list. A rain jacket or shell you’ve tested the waterproofness of and rain pants don’t just keep you dry, they keep you warm and protected from the wind. Because hypothermia is such a risk in the backcountry, it’s critical to never get your core wet.
Additional items
Additional items you should consider are hats (sun and warm), gloves (especially at night), a buff or neck gaiter, and sunglasses. And don’t forget about socks. You should have at least two pairs of synthetic or wool socks, and we recommend keeping an emergency pair in your sleeping bag at all times. From hypothermia to blisters, there is nothing worse than wearing wet socks.
While it is an unwise decision to bring an outfit change for every day or pack your heaviest layers, err on the side of caution and come slightly over prepared when it comes to staying warm and dry. It’s better to not use your gloves or rain pants than to wish you had them.
Know Before You Go! Test Out Your New Footwear
For your footwear, everyone has their own preference between trail runners or hiking boots. Hiking boots are notoriously heavy, but give hikers support and protection against rugged terrain as well as rain and snow on the trail. Trail runners, however, are incredibly comfortable and lightweight, but may not support big loads as well as boots. While it comes down to preference, it is essential for any backpacker to know what works for them, have broken-in shoes, and not set out on a trip in a shoe they haven’t tried at home first.
Optional Items

Camera: If you’re into photography, a lightweight, compact camera can go a long way, especially if you want to save phone battery.
Camp chair: Compact, lightweight camp chairs (like Crazy Creeks) can enhance your comfort at camp without adding noticeable weight or bulk
Trekking poles: Great for added stability on rough terrain and reducing impact on your knees.
Playing cards: You can even find backpacking cards that are lighter than your standard deck.
Portable phone charger: Many backpackers are not solely relying on paper maps with convenient and user-friendly apps like AllTrails. There are incredibly lightweight phone chargers on the market that can keep your navigation app running and your phone with enough battery to contact help, if needed (although you cannot rely on having signal in the backcountry).
Where to Spend and Where to Save on Backpacking Gear
Backpacking gear can carry a heavy price tag, but not everything needs to be brand new. Here are our suggestions on what’s worth buying new, and what you should look to thrift.
Where to Spend
Outdoor gear is notoriously expensive—walk into any outfitter and you can have hundreds of dollars in your cart in minutes. We don’t believe however, you need the latest and greatest gear to have a successful backpacking trip. That said, there are certain pieces of gear that are worth the investment to purchase new.
Two of the biggest trip-ruiners are blisters and being unable to get dry, so these are our major splurges.
Footwear: There are very few things one should seriously consider purchasing new. Finding the right pair of hiking boots or trail runners is essential to an enjoyable trip. We suggest going to your local outdoor store and being fitted for multiple pairs of shoes. Sometimes it’s hard to not focus on the price, but if you’re going to splurge on one item, it’s footwear.
Rain gear: Once you’re wet in the backcountry, you can’t get unwet… High-quality rain gear is huge for safety, comfort, and morale. While most backpackers won’t need the latest technology, make sure you’re hitting the trail with rain gear that fits and is properly waterproof (look for a jacket built with a three-layer fabric).
Where to Save
If you can inspect used gear for yourself and find it is in good shape, there is no reason not to buy pre-loved backpacking items. Oftentimes people will go to an outfitter and buy everything they could ever need before their first backpacking trip, only to find that backpacking is not for them. Used gear stores and online marketplaces are filled with major brand-name products like backpacks that just might be in your size. If you have time, figure out what gear you want and wait it out until you find it pre-loved.
Clothing: Especially if it isn’t waterproof, you can find high-end merino and synthetic layers for a fraction of the price new.
Tent: If you have the chance to inspect and re-waterproof the tent, you can easily find a good deal. We love online marketplaces, but used gear stores have a high standard for what they accept, so you know you’ll get a quality pre-owned item at an outdoor consignment shop.
Cooking gear: Lightweight cookware doesn’t have to be the absolute newest or lightest for it to be a better choice than bringing items from your kitchen. Give your pre-owned backpacking cookware a scrub and it’s good as new.
What to Leave Behind and Not Bring Backpacking
The list of items to leave behind on a backpacking trip is long, but here are some common items that many new backpackers may be tempted to bring. We recommend leaving them at home.
- Excess toiletries
- Heavy jackets
- Cotton clothing
- Food with excessive packaging
- Fruit that bruises easily
- Metal water bottles
- Canned food or glass jars
- Excessive alcohol
Adapting Your Gear to Your Trip Length, Seasons, and Your Individual Needs

The lists here are a general guide to a weekend backpacking trip, but depending on your length, you may choose to bring more gear. Be warned not to overpack, but an additional shirt or extra pair of socks can go a long way.
If you plan to backpack in colder temperatures, you will want to make sure to have properly insulated gear - clothes, sleeping bag and sleeping pad in particular. Extra items such as a ground tarp may be an important addition to keep your tent dry and further insulated. Be sure to think critically about how to be best prepared for your backpacking trip.
Like all things camping, your gear entirely depends on your individual needs. If you are someone who strongly prefers a camp chair, a cotton sleep shirt, and some heavier meals, you may be OK with carrying the extra weight in exchange for comfort. Additionally, while it may be summer, you still could want to bring an insulated jacket because you get cold easily.
The more you backpack, the more you’ll know what works best for you.
More Expert Advice
"In general, I try to leave behind things that are single purpose. Some examples of this would be a cup and bowl--your Nalgene is just as good of a container for coffee as a mug, and a Backpacker's Pantry bag rinsed out from last night's dinner is perfectly adequate for making your morning oatmeal!
I also NEVER skimp on having a dedicated fuzzy pair of socks that are only for sleeping in, never leave home without my Kula Cloth, and if I splurge it's almost always on a game. A deck of cards with a cribbage board downloaded on my phone and a set of dice can provide hours of entertainment without much-added weight."
Hannah Matranga. Alpine Guide, Backcountry Educator and Thru-Hiker @hannah.matranga
Additional Packing Tips and Ethics
Organizing and Waterproofing
Use stuff sacks and dry bags to organize your gear. This makes everything much easier to find, and will help to load your pack more efficiently. Pack heavier items close to your back, centered and balanced. Keep essentials accessible with as few items hanging from your pack as possible - you don’t want things swinging around for miles on the trail.
Additionally, keep your gear dry by using dry bags and a rain cover for your pack. It’s much easier to keep your gear dry than to dry it after it gets wet.
Bear Safety
If you’re in bear country, use a bear canister to store food. Some areas require bear canisters while others may just recommend it - know the regulations and the best practices for the area you are entering. At night, it is important for all “smelly” items (even chapstick) to go in the bear canister or bag and be kept at least 100 yards away and downwind from your tent. Read more on camping food storage here.
Ensure everyone in your group has bear spray on hand if in a zone known for bear activity. Check local regulations and guidelines, but always stay on the safe side when it comes to animal safety.
Leave No Trace (LNT)
The seven LNT principles are essential. Know these principles and constantly ask how you may eliminate or minimize your impact on the land while backpacking. Packing out all trash starts with mindfully bringing as little waste and packaging as possible. Before you spend the night either at an established, dispersed or backcountry campsite, familiarize yourself with all campsite regulations, like food storage and using the bathroom. Finally, and possibly most importantly, know your wilderness area’s current fire restrictions and properly put out every fire you start. These are constantly changing, so we recommend checking just before you leave for your trip.
Checklist for a Weekend Backpacking Trip:
Pack and storage
- Backpack (with rain cover)
- Waterproof stuff sacks or dry bags
Navigation
- Map of the area and compass
- GPS or trail app on phone
- Portable charger (optional)
Shelter and Sleep System
- Tent
- Sleeping bag
- Sleeping pad
- Inflatable pillow
Food and Water
- Backpacking stove and fuel
- Lightweight cookware and utensils
- Food (freeze-dried meals, snacks, etc.)
- Bear-proof container or bag (where required)
- Water filter or purification tablets
- 2-3L of water containers
Clothing/Layers and Footwear
- Base layers (synthetic or wool)
- Insulating mid-layer (fleece and/or down jacket)
- Waterproof jacket
- Hiking clothes
- Extra underwear and socks
- Hat and gloves (for warmth or sun protection)
- Hiking boots or trail shoes
- Camp shoes
First Aid and Toiletries
- First aid kit (bandages, antiseptic, any personal meds)
- Biodegradable toilet paper and trowel or Wag Bags
- Toothbrush and small toothpaste
- Sunscreen and insect repellent
- Hand sanitizer
Tools and Emergency Supplies
- Headlamp with fresh batteries
- Multi-tool or knife
- Lighter and waterproof matches
- Emergency blanket
- Repair kit (duct tape, patch kit for sleeping pad)
- Whistle
Additional Items to Consider
- Trekking poles
- Camera or binoculars
- Journal or book
- Playing cards
